
ImageMagick Guide
The ImageMagick suite is a widely useful collection of commands for editing, modifying and converting images. When converting large amounts of images it really comes into it’s own, you can easily convert entire directories of images in a single command. I use ImageMagick for many things, mainly though for optimising images here on the website.
Mogrify vs Convert
Most of what we’ll be looking at will be using the Mogrify command, however there are other ImageMagick commands, the most relevant to use here being the Convert command. For the most part, both commands do the same things however the way they do them differs. Mogrify is pretty general and (most times) overwrites the targetted files, Convert on the other hand creates a separate file which it outputs to. With Convert we also have finer control over the output, allowing us to rename files.
mogrify [options] input.filetype

convert input.filetype [options] output.filetypeConverting File Formats
Probably the best ImageMagick command, there’s been times where I’ve had some weird image formats that apps don’t even want to touch and a quick reformat in the command line fixes it all.
 mogrify -format [to] *.[from]
or
 convert *.[from] output.[to]

Example:
 mogrify -format png imagename.webp
or
 convert imagename.webp imagename.png
Renaming images on output
As mentioned earlier, Convert allows us to rename the outputs of commands. We can pair this up with escapes to add things like numbers or various kinds of of data to the output filename. I’ve only needed to number outputs so far, but you can add a wide range of metadata which you can find more about here.
Output with a sequence of numbers:
convert *.png filename%d.jpgThe same but with 3 digit numbers:
convert *.png filename%03d.jpgCropping Images
The -crop option works by defining the bounds of the what we want to crop to, followed by the offset from the original image so for example if we wanted to crop 50px off each side of 1080x720px image the command would look like the following:
mogrify -crop 980x620+50+50 input.jpg

option parameters: widthxheight+x_offset+y_offset
Resizing Images
There are several different ways to resize images with ImageMagick. We can resize ignoring aspect ratios, resize respecting aspect ratios and also scale an image which produces a sharp output (great for pixel art!). In reality, the dimensions can be used anyway. Putting x720 into resize or scale will respect an image’s ratio, and percentages can be used in either three.
Resize:
mogrify -resize 1080x720 input.jpgResize in respect of image ratio:
 mogrify -geometry x720 input.jpg
or
 mogrify -geometry 1080x input.jpg
Scale:
mogrify -scale 200% input.jpg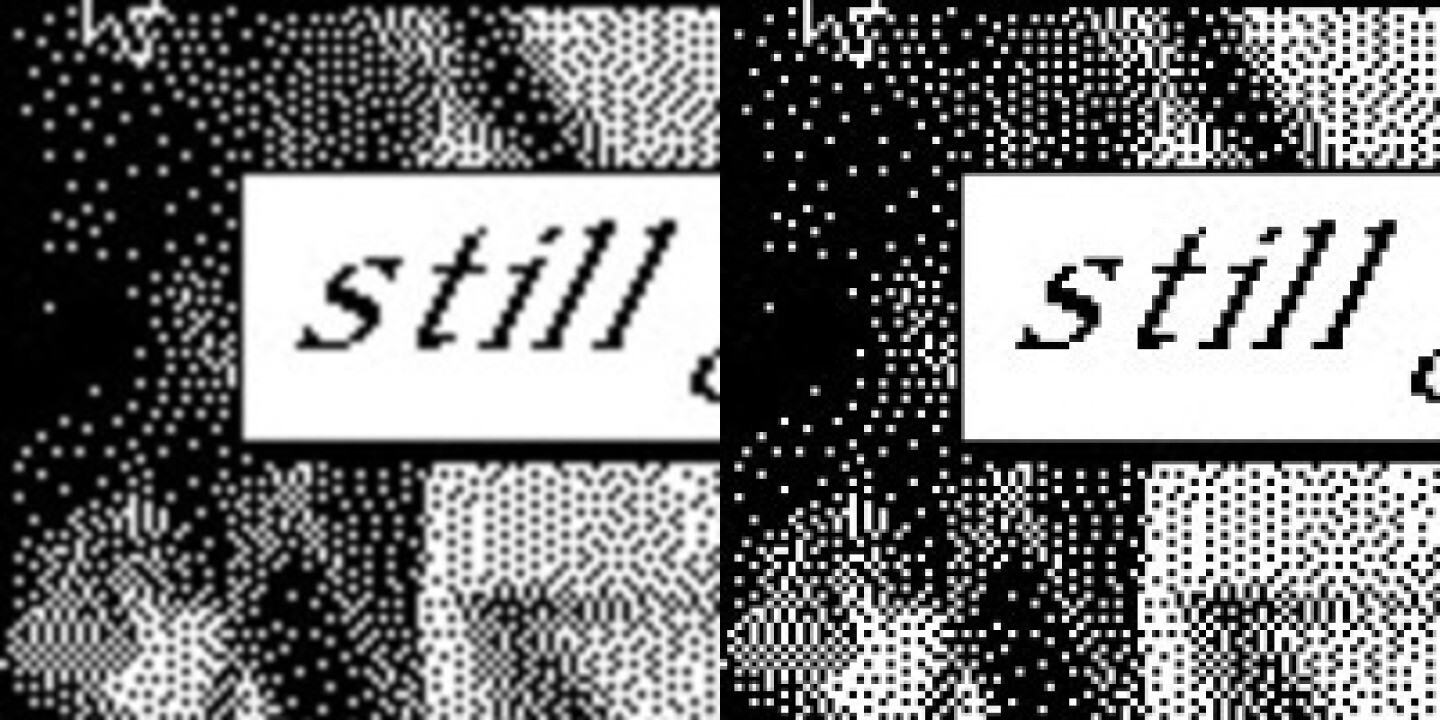
Combining Images
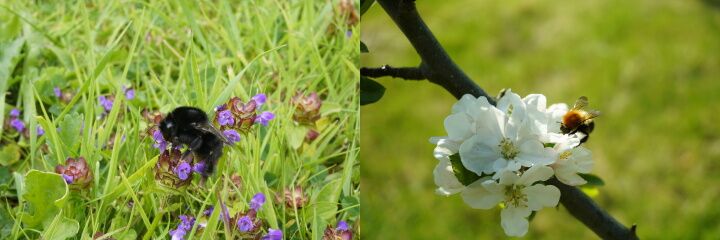
This is a pretty handy command I just found that lets you combine images side by side! Wether they combine vertically or horizontally depends on the prefix the command, + for horizontal and - for vertical. This command even lets you use images with different file formats to each other!
Horizontal Combination:
convert +append first.jpg second.jpg output.jpgVertical Combination:
convert -append first.png second.jpg output.jpgOptimising Images
I find ImageMagick most useful when compressing and optimising images for uses online. The following tips will help you lower the file size of images as well as decreasing the burden it takes for them to be loaded, especially by older computers.
Stripping Images
Stripping images is the process of removing metadata from images to save filesize. The likes of EXIF data isn’t necessary on the web, so stripping is recommended to reduce file size for use on the web.
mogrify -strip input.jpgQuality
Quality determines the level of compression, and hence quality of the output, applied to your images. It is measured in percent, 100 being best quality and 0 being best file size. I typically keep mine at 80, but most seem to use 85%.
mogrify -quality 85 input.jpgSampling Factor
Sampling Factor refers to the format of Chroma Subsampling used by Imagemagick. I use 4:2:0, as recommended by Rekka in their guide, but with testing I found 4:1:1 resulted in a larger file size confirming 4:2:0 to be better.
mogrify -sampling-factor 4:2:0 input.jpgMy Complete Script
Below is my personal script for the website. I reduce the images to the size displayed on my site, 720px wide, to reduce file size the most. I also use the -interlace option, which doesn’t affect filesize but can how lower power devices with loading images.
mogrify -format jpg \
        -scale 720x \
        -sampling-factor 4:2:0 \
        -strip -quality 80 \
        -interlace line input.jpg